How to Create Your Own Token on Solana or Ethereum
Three ways to launch a token — a launchpad, the Solana spl-token CLI, or an OpenZeppelin ERC-20 contract — with the exact commands and code, how to add liquidity, and the settings buyers check before they trust a new token.
 SOL
SOL ETH
ETH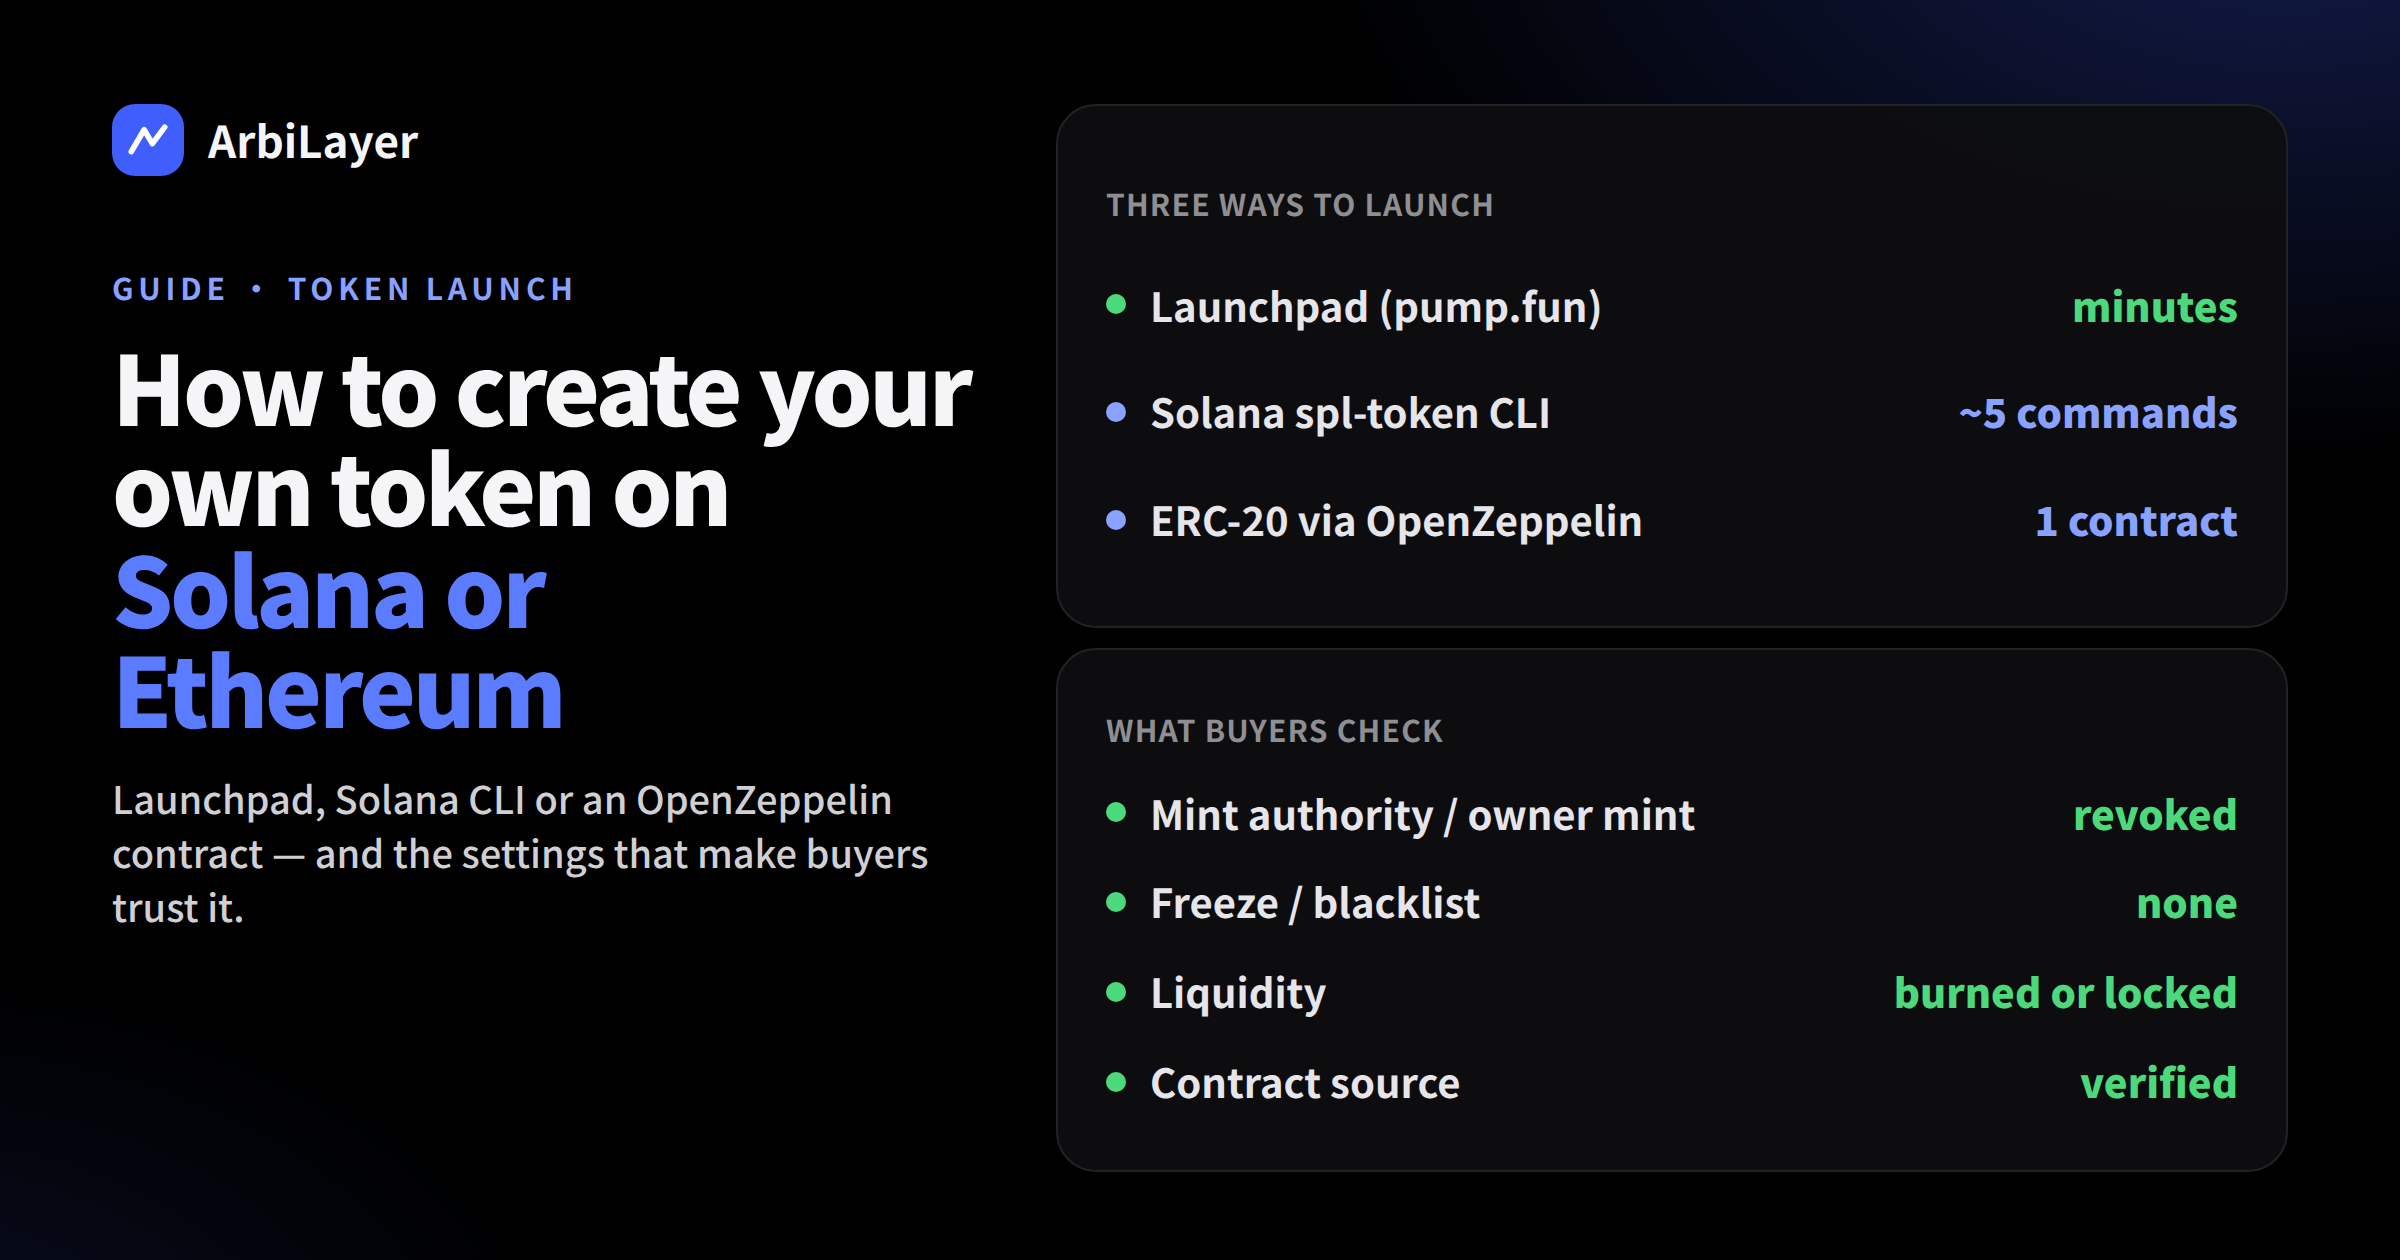
Creating a token takes minutes and costs a few dollars. Creating one that people can trust takes more thought. This guide walks through both: the technical steps on Solana and on Ethereum (and EVM networks like Base or BNB Chain), and the decisions that decide whether buyers will see your token as legitimate or as the next rug.
Before you start
- Decide what the token is for. A community memecoin, a project's utility token and a token that represents a share of profits are treated very differently by regulators. Anything that promises returns from your work can be a security in many countries. If that is your plan, talk to a lawyer before launching.
- Choose the chain. Solana: cheap transactions and a huge memecoin market. Ethereum mainnet: highest trust, highest fees. EVM layer 2s (Base, Arbitrum): Ethereum tooling at a fraction of the cost.
- Fix the basics: name, ticker, total supply, decimals (9 is common on Solana, 18 on EVM chains), and a logo plus a short metadata file hosted somewhere permanent.
Option 1: a launchpad (fastest)
Memecoin launchpads such as pump.fun on Solana create the token, set up a bonding-curve market and, once enough is bought, move liquidity to a DEX automatically. You choose a name, ticker and image and pay a small fee.
Launchpads also make good defaults for you: mint and freeze authorities are revoked at creation and the supply is fixed. The trade-off is control — you cannot change supply rules, and you are one of thousands of launches that day.
Option 2: Solana with the command line
Solana tokens are created with the shared token program, so you do not write a smart contract. With the Solana CLI and the SPL Token CLI installed and a funded wallet:
# Create the token (Token-2022 program, with built-in metadata support)
spl-token --program-id TokenzQdBNbLqP5VEhdkAS6EPFLC1PHnBqCXEpPxuEb create-token --enable-metadata

# Attach name, symbol and a link to your metadata JSON (image, description)
spl-token initialize-metadata <MINT_ADDRESS> "My Token" "MYT" https://example.com/myt.json

# Create your token account and mint the full supply to it
spl-token create-account <MINT_ADDRESS>
spl-token mint <MINT_ADDRESS> 1000000000
Then lock in trust:
# No one can ever mint more
spl-token authorize <MINT_ADDRESS> mint --disable

# No one can ever freeze holders' accounts
spl-token authorize <MINT_ADDRESS> freeze --disable
Run everything on devnet first (solana config set --url devnet) — it is free and identical. The classic SPL Token program with Metaplex metadata works too; Token-2022 simply keeps metadata inside the token itself. Avoid Token-2022 extensions you do not need: transfer hooks, permanent delegates and high transfer fees are exactly what scanners flag as honeypot features.
Option 3: Ethereum and EVM chains with OpenZeppelin
On EVM chains every token is its own contract. Use the audited OpenZeppelin ERC-20 implementation instead of writing transfer logic yourself:
// SPDX-License-Identifier: MIT
pragma solidity ^0.8.20;

import "@openzeppelin/contracts/token/ERC20/ERC20.sol";

contract MyToken is ERC20 {
    constructor() ERC20("My Token", "MYT") {
        _mint(msg.sender, 1_000_000_000 * 10 ** decimals());
    }
}
This contract has a fixed supply, no owner, no taxes and no blacklist — nothing that can be changed after deployment, which is exactly what buyers want to see.
- Deploy. Paste the contract into Remix, compile, connect your wallet and deploy. Developers usually use Foundry or Hardhat instead.
- Test on a testnet first (Sepolia, or Base Sepolia for Base).
- Verify the source code on the block explorer (Etherscan, Basescan). Unverified contracts are treated as suspicious by every scanner and most traders.
- Add extras only if you need them, each from OpenZeppelin: burnable, permit, or a capped mintable supply. Every owner-only function you add is something buyers will have to trust you with.
Adding liquidity
A token has no price until there is a market. Create a pool on a DEX — Raydium or Meteora on Solana, Uniswap on Ethereum and EVM chains — and deposit your token plus SOL, ETH or a stablecoin. The ratio you deposit sets the starting price.
You receive LP tokens (or an LP position) that represent the pool. Burn or lock them with a known locker and share the transaction. Unlocked liquidity means you could pull the pool at any time, and every serious buyer checks this.
A checklist buyers will run on your token
| What they check | What they want to see |
|---|---|
| Mint authority / owner mint | Revoked or absent: supply is fixed |
| Freeze authority / blacklist | Revoked or absent |
| Taxes | None, or low and impossible to raise |
| Contract | Verified source, no upgradeable proxy |
| Liquidity | LP burned or locked |
| Supply distribution | No single wallet holding most of it |
| Metadata | Fixed name and logo, matching official links |
Passing these checks does not make a token valuable, but failing them makes it look like a trap. Read how honeypots work to see your token through a buyer's eyes.
After launch
- Publish the contract or mint address on your website and social accounts so copycats cannot impersonate you.
- Apply for listings on token trackers with the address, logo and links.
- When exchanges list your token, check that they credit the right contract — a wrong deposit network is how one ticker became two tokens in the pGALA incident.
This article is for information only and is not legal or investment advice.
This article is for information only and is not investment advice.